Friendship Bracelets at Camp Zeke
Do you want to know about something special that’s deeply woven into the fabric of our camp culture? Making friendship bracelets! It’s not just about crafting colorful threads; it’s about creating connections and memories that last a lifetime.
1. Tradition and Togetherness:
At Camp Zeke, making friendship bracelets isn’t just a craft; it’s a tradition that brings us all together. Whether you’re a seasoned bracelet-maker or a complete beginner, everyone is invited to join in.
2. Expressing Creativity:
It’s a chance to express your creativity and individuality. Each bracelet is unique, reflecting the personality and style of the person who creates it. You get to choose the colors, patterns, and designs that resonate with you.
3. Symbol of Friendship:
These bracelets go beyond being mere accessories. They are symbols of the friendships we form at Camp Zeke. When you wear one, it’s like carrying a little piece of camp with you wherever you go.
4. Shared Memories:
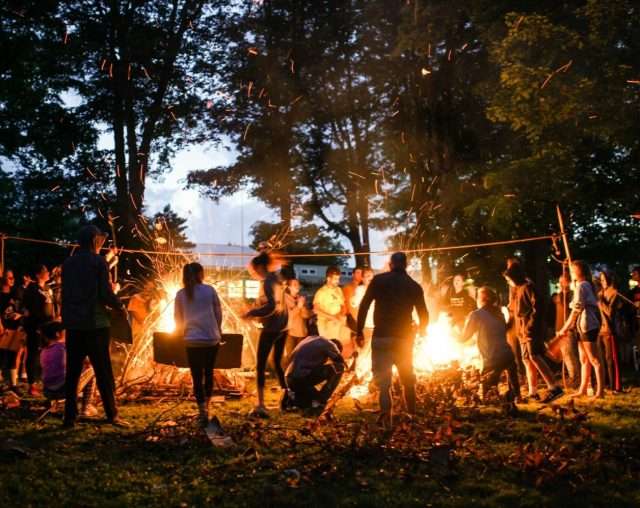
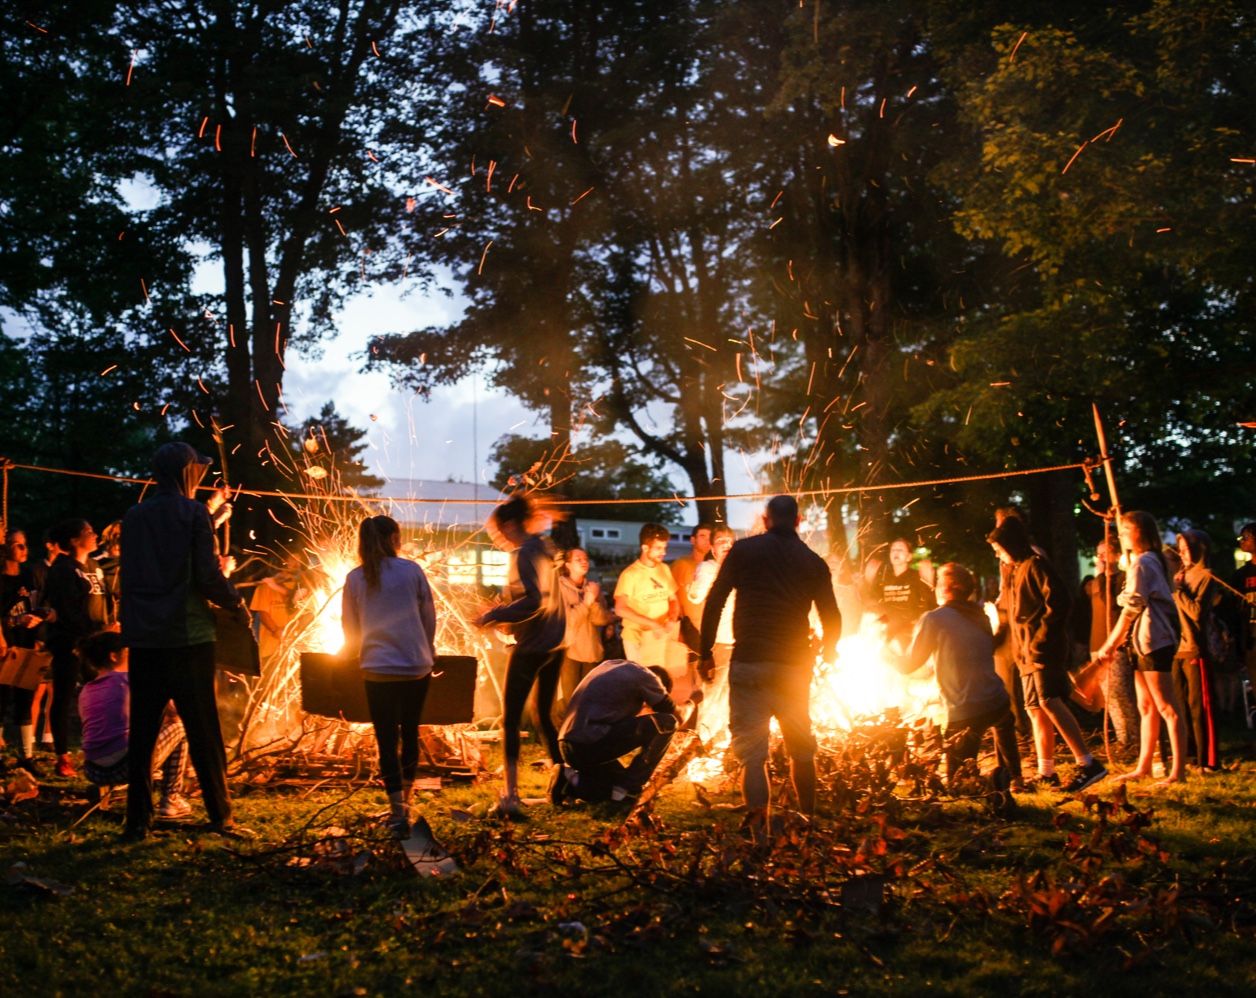
Many of us have made bracelets during campfires, by the lake, or in the shade of our favorite trees. Those bracelets become tangible reminders of the shared laughter, adventures, and the special moments we’ve had at camp.
5. Inclusivity:
The beauty of making friendship bracelets is that it’s an inclusive activity. It doesn’t matter if you’re a camper, a counselor, or someone visiting for the day – everyone can join in. It’s a chance to connect with others, break the ice, and form bonds that extend beyond the camp season.
6. Gifts of Friendship:
And let’s not forget the joy of gifting a handmade bracelet to a friend. It’s a gesture that says, “I appreciate our friendship, and I want you to have a piece of camp with you, too.”
So, whether you’re making your first bracelet or adding to your collection, know that you’re contributing to something special, something that makes our camp experience even more unique and meaningful. Let’s keep weaving those threads of friendship together!
Below are some instructional videos that teach you how to make your own awesome bracelets. You can click on the links or follow instructions below. Happy crafting, everyone!
https://youtube.com/shorts/Hr-00DeVpfI?si=jy4I0b1DcDDbyqOR
https://youtu.be/Y_FzuLwCZnk?si=JVS6kgrF_RepVYmI
https://youtu.be/sS2BmCzQwbs?si=0GlfhHvpm-vyWl5d
How to Make a Friendship Bracelet:
Materials Needed:
- Embroidery floss or yarn in various colors
- Beads and/or charms (optional)
- Scissors
- Clipboard, cardboard, or tape (optional, for securing the bracelet while working)
Instructions:
1. Choose Your Colors:
Select the colors you want for your bracelet. Traditional friendship bracelets often use bright, contrasting colors.
2. Measure and Cut the Threads:
Decide on the length of your bracelet. A common starting point is around 60 inches (150 cm) per thread. Cut as many threads as you want, depending on the thickness of your bracelet.
3. Arrange the Threads:
Align the threads and tie a knot at one end, leaving a small loop. This loop will be used to secure the bracelet during the crafting process.
4. Start Braiding:
- Divide the threads into groups (usually 2-4 threads per group).
- Begin braiding the threads together, making sure to keep them tight and even.
- You can experiment with different braiding techniques, such as the classic three-strand braid or more complex patterns.
5. Add Beads or Charms (Optional):
If desired, incorporate beads or charms into your bracelet by threading them onto individual threads.
6. Finish with a Knot:
Once you reach the desired length, tie a knot at the end to secure the braid. You can also add a loop or make a braided tie for closure.
7. Trim Excess Threads:
Trim any excess thread at the ends, leaving a small tail.
8. Share with Friends:
Friendship bracelets are meant to be shared. Give them to friends as a symbol of your bond.




Recent Comments